Designers & documentation
Screenshot Suite for designers and documentation
Screenshot Suite adds a simulated browser frame, padding, and an optional watermark to a screenshot, then resizes and exports it as PNG, JPEG or PDF, the finishing touches designers and technical writers need for a mockup, a style guide, or a documentation page.
Published · Updated
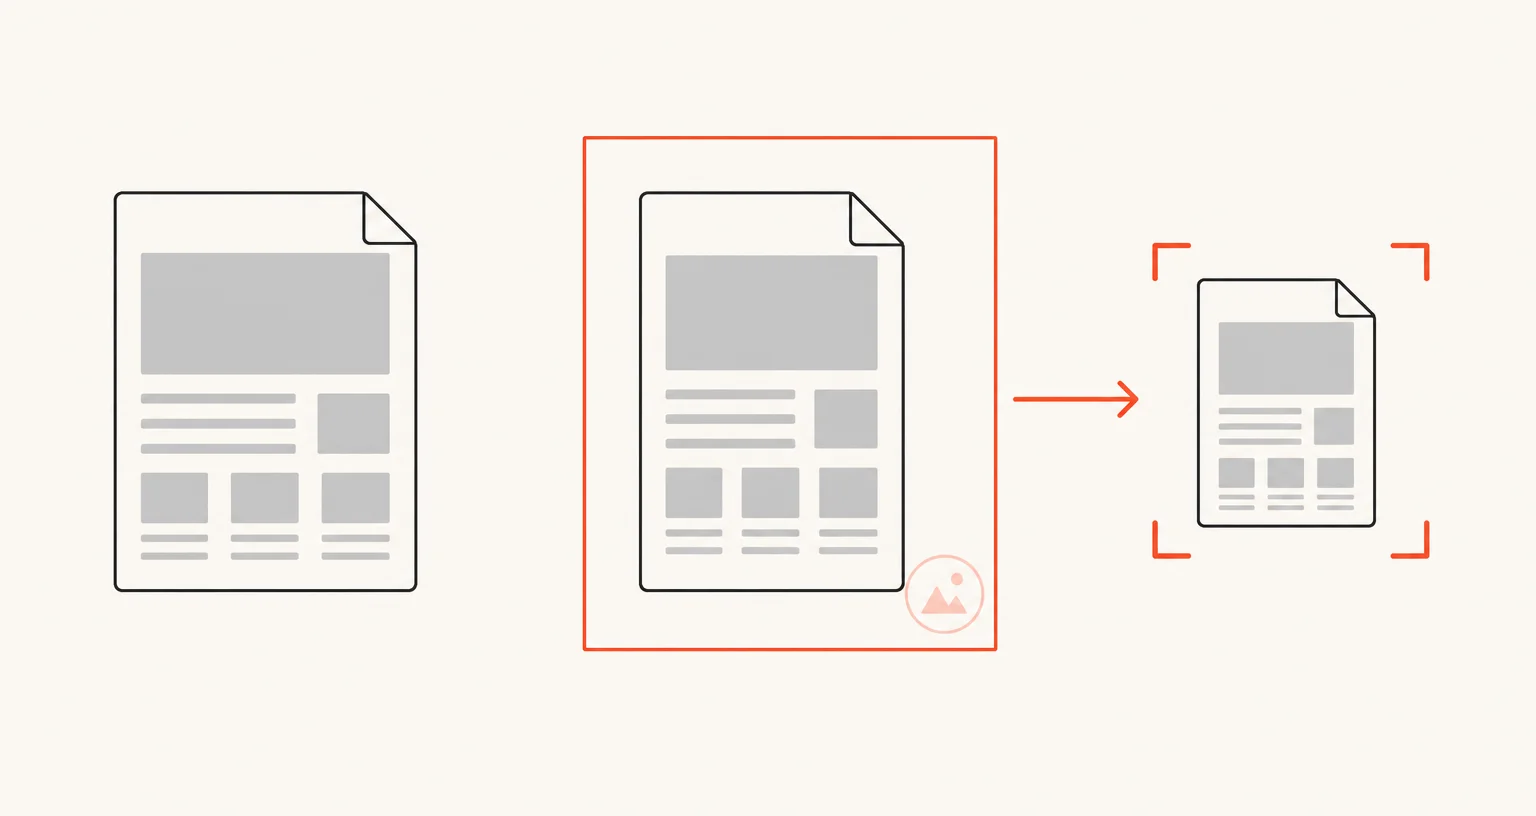
How do you prepare a clean visual for a review or a doc page?
Capture the content first: Full page for an entire page, Select an area for a single component or mockup, Page frame (iframe) if what you’re documenting is an embedded widget. In the annotation editor, add a simulated browser frame and padding around the capture, an image watermark if the visual is going outside your team, and resize it proportionally or not before exporting as PNG, JPEG or PDF.
Which editor tools matter most for this?
- Browser frame and padding: a simulated browser chrome around the screenshot, with padding from 8 to 80 pixels in any color: turns a plain capture into something that reads as a finished mockup or slide.
- Watermark: an image watermark with adjustable position, size (5-60%) and opacity (10-100%), for visuals shared outside your team.
- Resize: scale the result up or down, proportionally or not, to fit a style guide or a documentation template.
- PDF export: a long capture is split into A4 pages automatically, useful for a documentation page meant to be printed or archived as one file.
Which capture modes fit best?
Use Full page for an entire page that needs documenting top to bottom, Select an area when only one component or mockup matters, and Page frame (iframe) for an embedded widget or dashboard that needs its own clean capture.