Teachers
Screenshot Suite for teachers
Screenshot Suite lets teachers annotate a screenshot with arrows, text or numbered steps for a handout, or record a short tutorial with narration through the microphone, then export it as MP4 or a GIF short enough to share directly.
Published · Updated
How do teachers use Screenshot Suite for a handout or a tutorial?
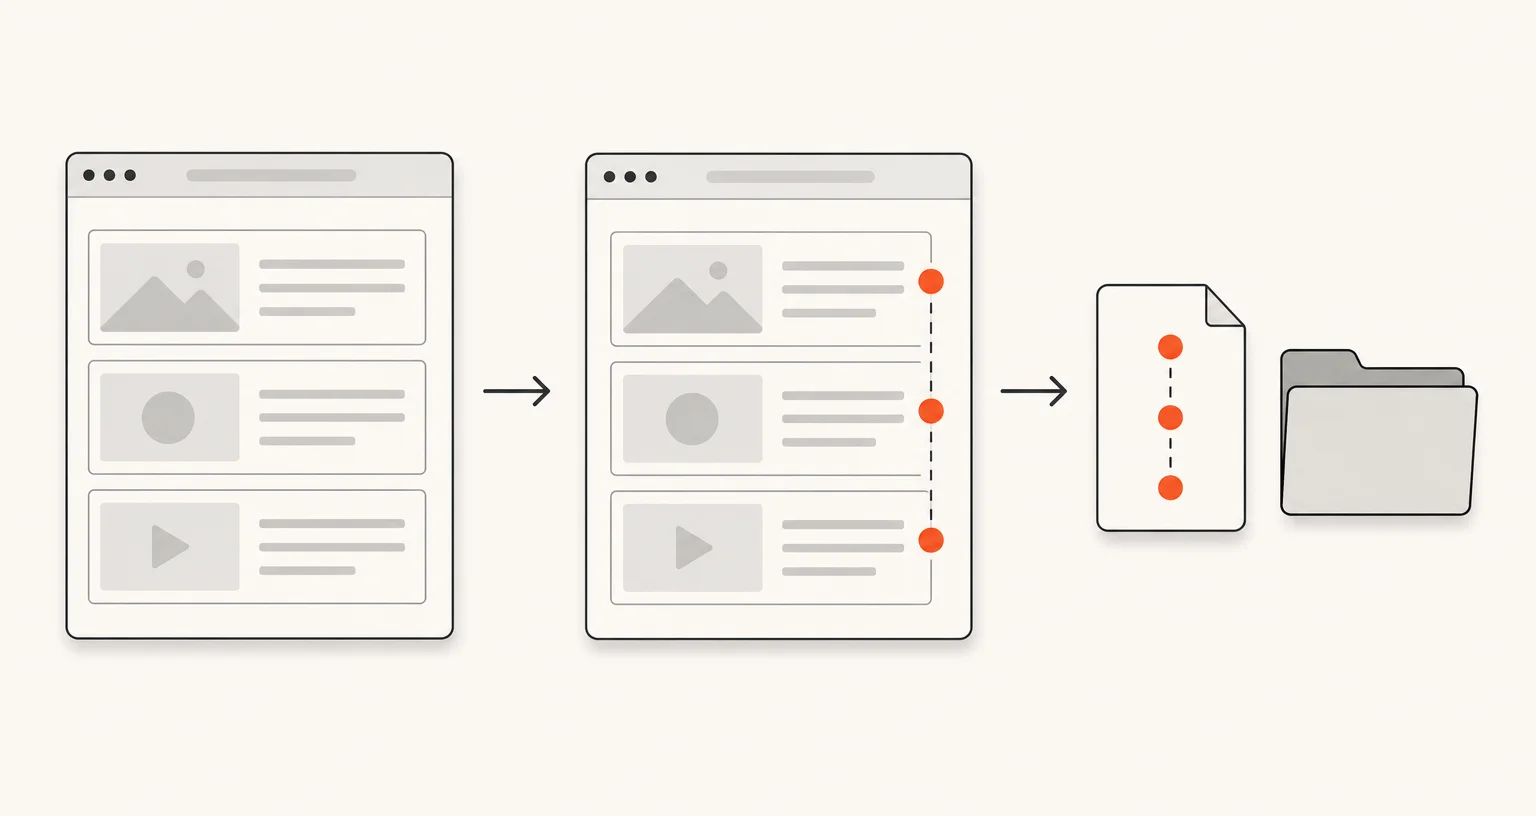
Capture the screen with Visible area or Full page, then use the annotation editor’s numbered markers, text, arrows or highlighter to turn it into a step-by-step handout. For something that’s easier to show than to describe, Record tab records the current tab with your voice through the microphone, with an optional webcam bubble, then trims and exports the result.
Which annotation tools fit a handout best?
Numbered markers walk through a sequence of steps in order; text boxes (with a choice of font and size) label specific parts of the image; the highlighter and freehand tools call out what matters without covering it up. All of them are available on any image capture, not a separate tool.
How do you record a narrated tutorial?
Record tab captures the current tab with its own sound. Turn on the webcam overlay before starting to add your voice through the microphone and a round webcam bubble, and cap the resolution at 720p, 1080p or 4K depending on where the video will be shown.
What’s the best way to share a short tutorial?
Export a GIF (up to 15 seconds, 10 frames per second) for something students can watch immediately without opening a video file, or MP4 for a longer walkthrough that needs proper video length and quality.