Image capture
Visible area screenshot in Chrome
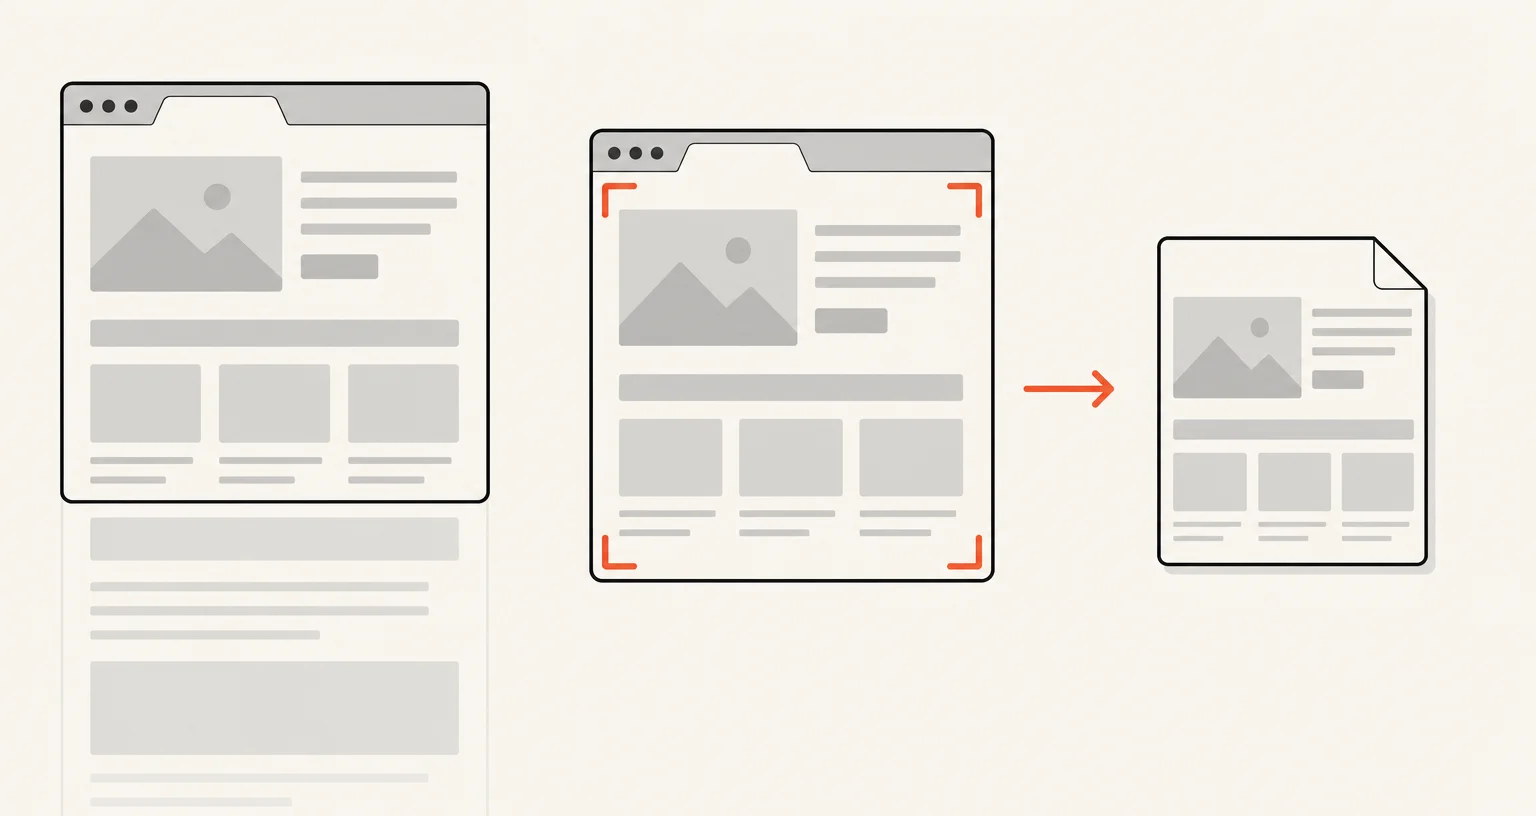
The Visible area mode captures exactly what is showing in your current Chrome tab. Click it in the Screenshot Suite popup, press Alt+Shift+X, or use the right-click menu. By default the image opens in the annotation editor and is saved to your Downloads folder.
Published · Updated
How do you capture the visible area?
Open the tab you want and scroll to the part you need. Only what is currently on screen will be captured. Then either:
- Click the Screenshot Suite icon in the toolbar and choose Visible area.
- Press Alt+Shift+X, without opening the popup.
- Right-click anywhere on the page and choose Visible area from the context menu.
All three trigger the same capture: Chrome’s captureVisibleTab, on the part of the tab currently displayed. Visible area is one of only two Screenshot Suite modes with both a keyboard shortcut and a right-click menu entry: the other is Select an area. The other seven modes are started from the popup only.
When should you use Visible area instead of Full page or Select an area?
Visible area is the mode to reach for when you don’t need to scroll: a dialog box, a form, a chat window, an error message, or anything else that already fits on screen. It captures the entire viewport in one step, with nothing to draw or wait for.
Compared to its closest neighbor, Select an area: Visible area always captures the full viewport and needs no interaction beyond the click or shortcut; Select an area asks you to drag a rectangle first, which is worth the extra step when you only want part of what’s on screen (cropping out a sidebar or ads, for example). If what you need is taller than the viewport, neither mode reaches it. Use Full page or Full page from here.
What happens to the image after the capture?
With the default settings, the image opens in the annotation editor and is also saved in a Screenshot Suite folder inside your Downloads folder. In the popup’s Settings tab you can turn either behavior off, turn on automatic copying to the clipboard, ask Chrome to prompt for a save location every time, stamp the page URL and date onto the image, switch between PNG and JPEG, halve the resolution for Retina and other high-density screens, or add a delay of 0, 3, 5 or 10 seconds before the capture fires. These settings are shared by every image mode, not just Visible area.
From the editor, export the annotated image as PNG or JPEG, copy it to the clipboard, or export it as a PDF.
What are the limits of this mode?
Visible area only captures what fits in the current viewport, nothing below the fold. Like every Chrome extension, Screenshot Suite cannot capture Chrome’s own internal pages (chrome://... URLs) or the Chrome Web Store; Chrome blocks extension access to those pages for everyone, not just this extension. If Alt+Shift+X does nothing, another extension or a Chrome shortcut may already be using that combination. Check and reassign it on chrome://extensions/shortcuts.
Frequently asked questions
Can I change the Alt+Shift+X shortcut?
Yes. Chrome lets you reassign any extension's shortcuts on chrome://extensions/shortcuts, including both of Screenshot Suite's (Visible area and Select an area).
Does Visible area capture the whole page or just what's on screen?
Just what's currently visible in the tab. To capture a page that is taller than your screen, use Full page or Full page from here instead.
What format does it save in?
PNG or JPEG, set once in the popup's Settings tab and used by every image mode. After the capture, the annotation editor can also export PDF or copy the image to the clipboard.