Customer support
Screenshot Suite for customer support
Screenshot Suite lets support teams capture exactly what a customer is seeing (the visible area, a selected region, or the full page), annotate it with arrows or blur sensitive details, and share it as an image or a short screen recording. Nothing is uploaded anywhere first; the file only exists once you export or copy it yourself.
Published · Updated
How do support teams use Screenshot Suite to document an issue?
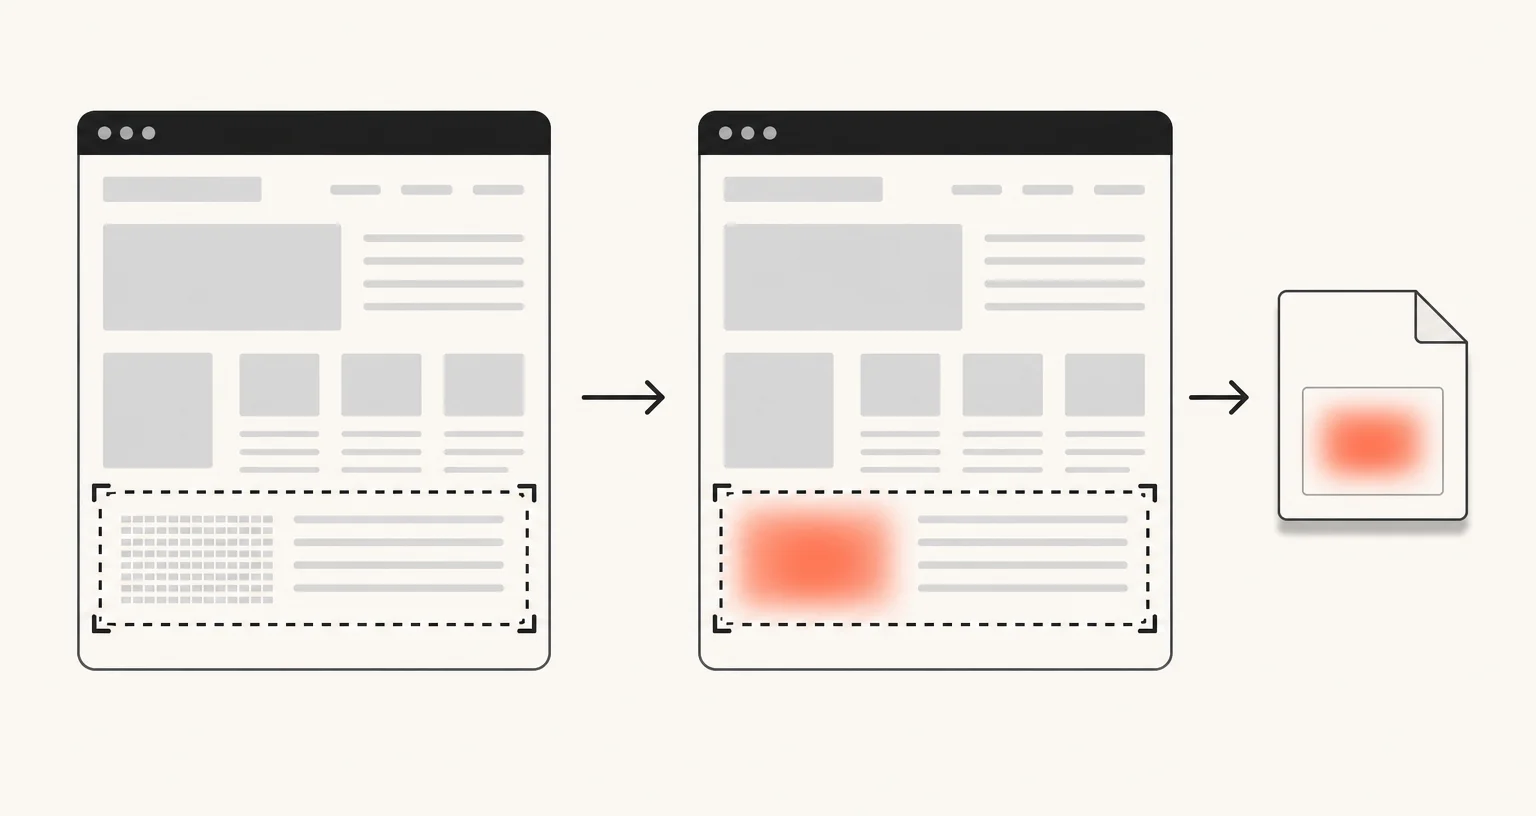
Capture what the customer is describing: Visible area for whatever’s already on screen, Select an area to crop to just the relevant widget or error message, or Full page for a longer page like a checkout flow. Annotate it in the editor with arrows or numbered steps pointing at the problem, then export it or copy it straight to the clipboard to paste into a ticket or a reply.
Which modes fit a support workflow?
- Visible area: one click for whatever’s already on screen: an error message, a form, a chat window.
- Select an area: crops out everything except the part that matters, useful when the rest of the page is unrelated to the issue.
- Full page: a longer page, like a multi-step checkout or a settings page that scrolls.
- Record tab: a short recording with the tab’s own sound, for walking a customer through a fix rather than describing it in text.
How do you protect a customer’s private information?
Before exporting or sharing anything, the annotation editor’s blur and pixelate tools cover account numbers, email addresses, order details, or any other information that shouldn’t appear in a shared screenshot, applied locally, in the same editor, before the image exists as a file.
Can you record a walkthrough instead of writing one?
Yes. Record tab captures the current tab with its own sound, with an optional webcam bubble and microphone if a narrated walkthrough is more useful than a written one. Trim the recording, then export it as MP4, WebM, or a GIF short enough to attach directly to a reply.